
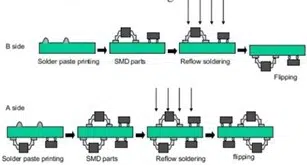
Scheme of a reflow soldering process:

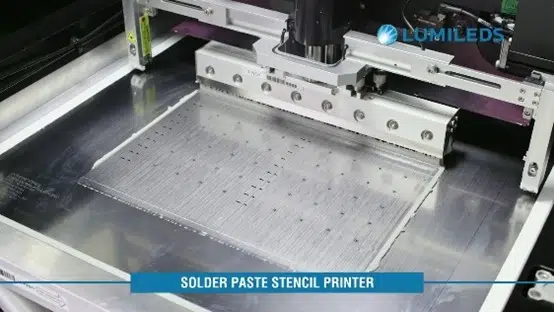
Step 1 Solder paste printing:
After mixing and acclimating the solder paste, it is manually/automatically applied to the stencil and pressed through the stencil with a squeegee. Each pad is now covered with solder paste.
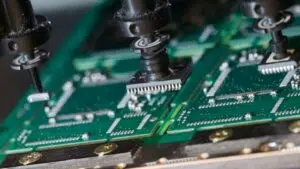
Step 2 Component placement in solder paste:
The components are placed fully automatically with a pick-and-place machine or with a CHIP shooter on the lands on the printed circuit board covered with solder paste. The latest machines can place up to 40,000 components/hour (more than 10 components/second).
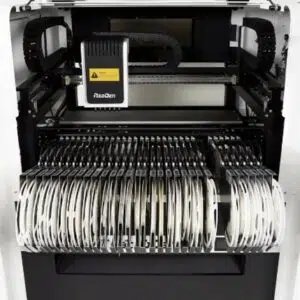
Ultra High Speed Pick and Place Machine:
Step 3 Preheating:
The assembled printed circuit board is transported over the conveyor belt to the reflow oven.
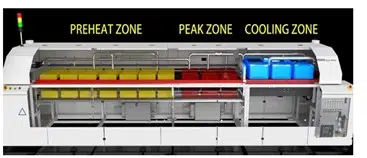
Scheme of a reflow oven:
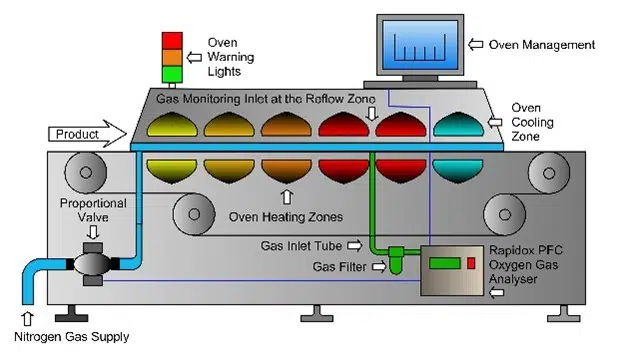
The first part is the preheat zone where all the activators of the flux in the solder paste are activated. The following diagram shows a reflow profile with all 4 phases in the reflow oven:
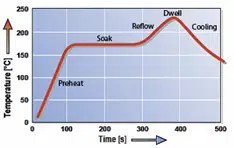
Step 4 Soak (stabiliseren):
At the end of the preheat cycle, all the small SMD components are heated up, but the large SMD components are not fully heated up. Therefore, the temperature is kept constantly to better distribute the heat. They call this the soak phase. At the end of this phase, all components are at the same temperature and now the temperature is rising up to the melting point of the solder alloy. The real reflow soldering starts (the solder paste melts).

Step 5 Reflow soldering:
The peak zone is the zone where the solder paste melts. After this, all components are soldered.

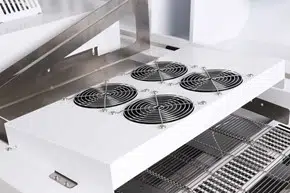
Step 6 Cooling:
And the last step is cooling the soldered assembly.
The printed circuit board assembly (PCBA) will be cleaned (if necessary) and inspected and tested.