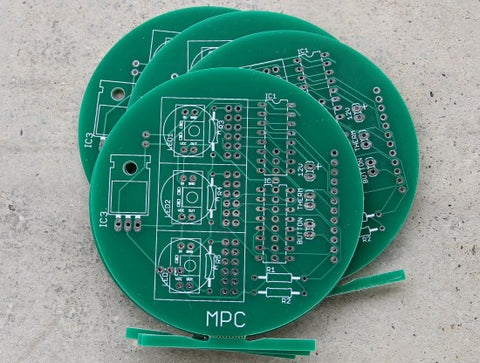
Today I got the PCBS for the Nixie thermometer from PCBHERO:
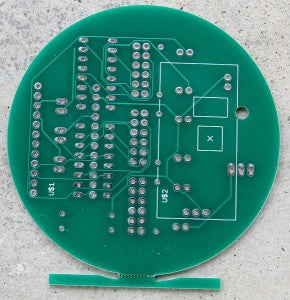
Here are the two sides of a PCB in detail:

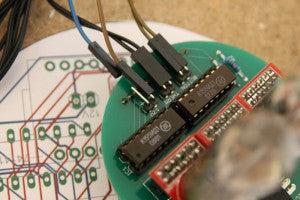
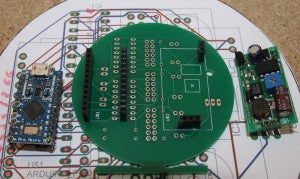
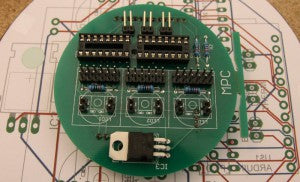
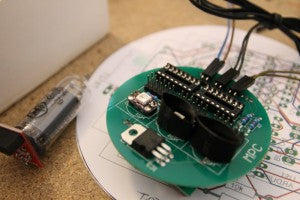
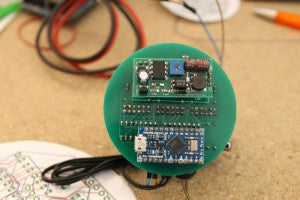
I started the assembly by soldering the connectors for Arduino and power module on the underside; then I soldered the sockets, the resistors and the 5V voltage regulator on the top side:
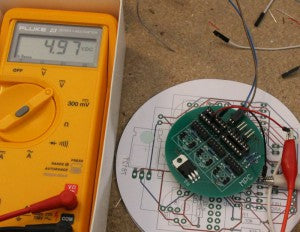
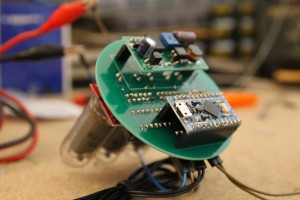
Before proceeding, I carried out a smoke test : it is in fact very important to verify that the power supply is correct by measuring the feet of the sockets, those of the LEDs with a tester ... After the check ok, I was able to insert the nixie that displays the ° C symbol and check its ignition (this nixie is in fact connected directly to the power supply module):
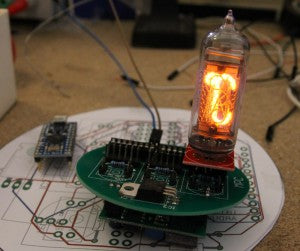
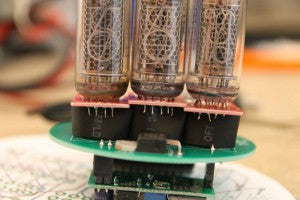
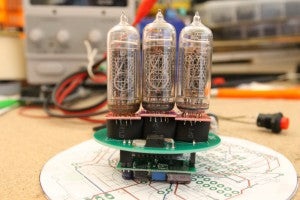
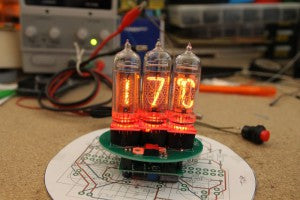
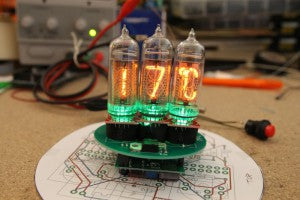
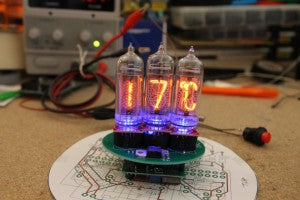
Finally I soldered the LEDs, inserted the drivers in the appropriate sockets and positioned the nixie in their place: the project is completed!
Gallery
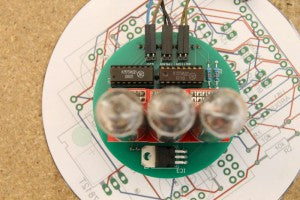
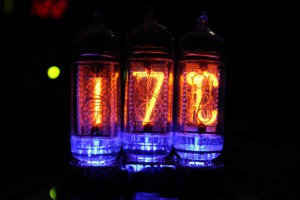
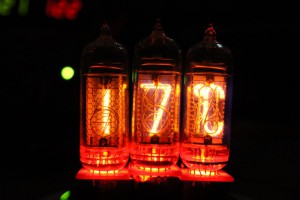
Here are the nixies illuminated by different colors and a short video:

Errors
During the assembly I noticed two errors :
[badlist]
- the screen printing relating to the power connector is wrong, the + symbol actually indicates the negative pin
- the distance between the three nixies is not enough