
The Eachine H8 mini quadcopter is certainly one of the most popular mini quadcopters, both for the low price (10-15 €), and for the good performance in terms of maneuverability and flight time.
This quadcopter is not equipped with a video camera and therefore cannot be used to fly in FPV ( First Person View ) ... in this article I will show you how to modify it by spending a few euros to add this fun feature!
There are other interesting modifications for this quadcopter, for example silver13 has developed some alternative open source firmware ( acro and dual-mode ) while goebish has decoded the communication protocol with the transmitter making it possible to control the miniquad with other radio controls .
Shopping list
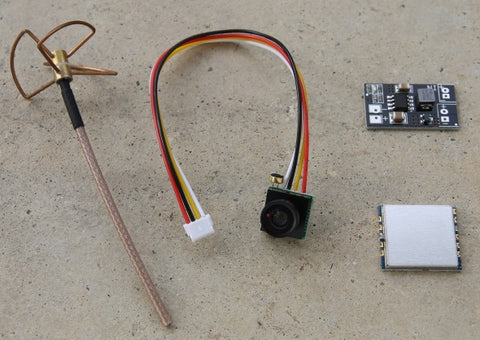
To modify your H8 mini you will need:
[checklist]
- CMOS mini camera
- 5.8GHz AV transmitter
- alimentatore step-up Lipo 1S-> 5V
[/checklist]
In addition, it is possible to purchase a dedicated antenna , which can also be replaced by a simple piece of wire.
Smoke test
Before modifying the quadcopter, we carry out a smoke test on the various components, i.e. we check their operation individually.
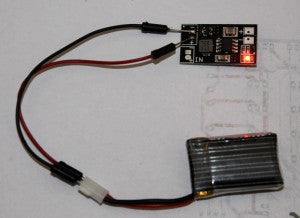
Let's start with camera and transmitter: solder the yellow wire of the camera to the VIN pin (Video IN) of the transmitter and the black one to GND (ground). We weld a piece of wire to the ANT pin (antenna) of the transmitter and, with an external 5V power supply, we power the camera and transmitter:
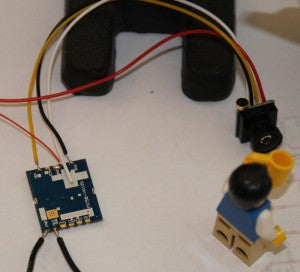
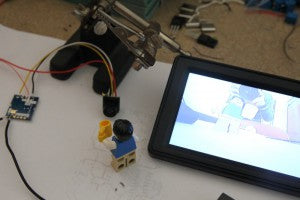
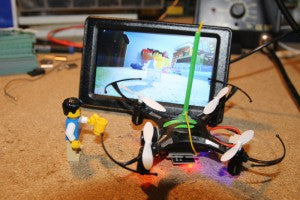
Using a 5.8GHz receiver we can verify that the camera and transmitter are working correctly:
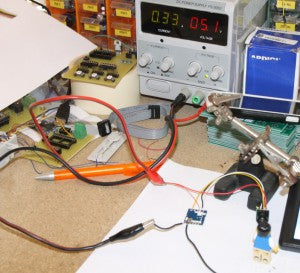
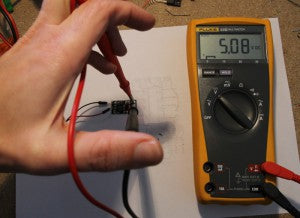
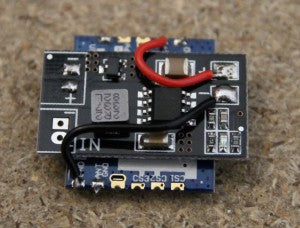
Now let's move on to the power supply. We connect a LiPo battery from a cell to the + and - pins and check with a tester that there is 5V at the output (voltage needed to power the rest of the components):
Quadcopter
Once you've verified that all purchased components are working, it's time to move on to tweaking the miniquad.
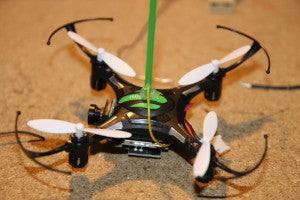
With a screwdriver we remove the 4 screws in order to open the plastic case and access the printed circuit:
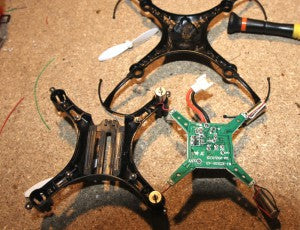
We identify the two points of connection with the battery and solder two wires, which we will use to power the new components:
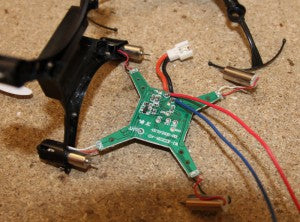
We connect the output of the step-up power supply to the GND and VCC pins of the transmitter, then we connect the two pieces of wire to the input of the power supply. I also decided to add a small switch to turn the FPV system on / off independently:

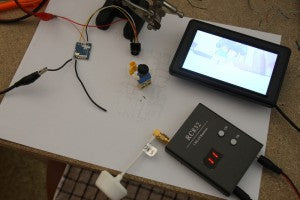
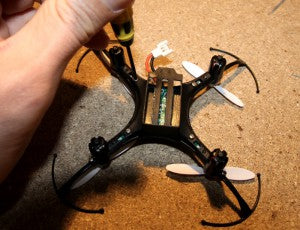
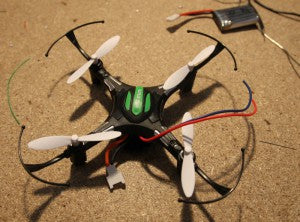
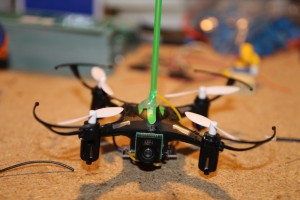
Using hot glue we glue the power supply and transmitter to the bottom of the quadcopter and the camera in the front position. We connect the latter to the transmitter as already seen in the smoke tests and weld the antenna or a piece of wire. We can use a plastic tube to hold the wire upright:

Our H8 mini is now ready for a first FPV flight!
If you are interested in these, you can mail to lisa.wang@pcb-hero.com