
Materials Required:
- Arduino Board
- OTG cable
- Arduino USB cable
- Android Device
Let’s start with Installing the ArduinoDroid App:
Step 1: Download the App from the link given below or simply go to play store and search for ArduinoDroid and install it.
https://play.google.com/store/apps/details?id=name.antonsmirnov.android.arduinodroid2
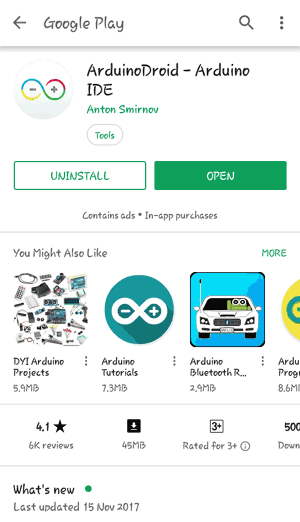
Step 2: Open the app after installing. It will look like as given below:
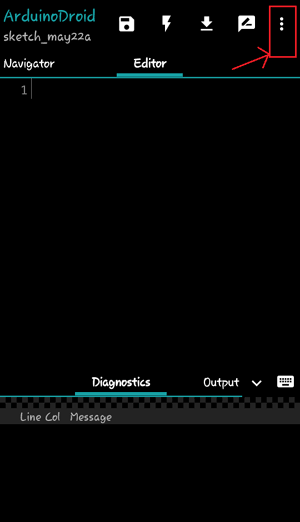
In this window you can write your own code or simply get example codes from menu (shown by three dots on upper right corner).
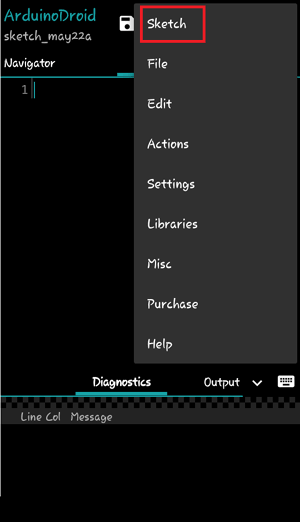
Step 3: You will find Sketch option in Dropdown menu as shown below. In sketch menu, there is Examples option, click on it.
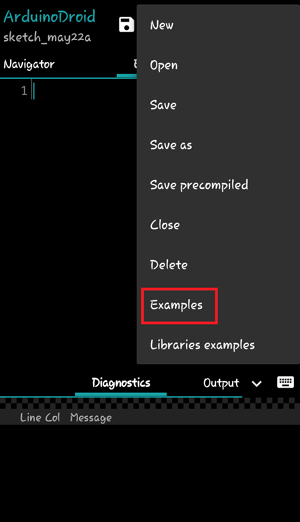
In this menu you will find some examples as in Arduino IDE. Choose the example code you want to burn inside Arduino. Here, we will upload Blink program.
Step 4: Connect your Arduino board with Android device using USB cable and OTG.
Step 5: Choose your board from Setting > Board Type.
In Arduino IDE, if we click on upload button, our program is compiled first and then uploaded. But here we have to compile first by clicking Compile button as shown below.
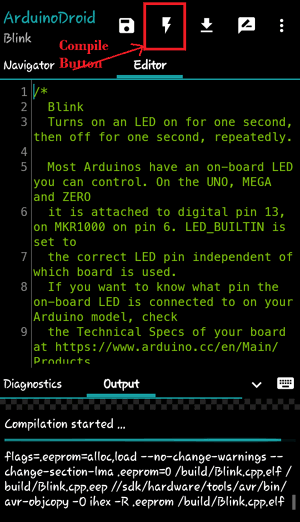
You can see status of compilation in Output window.
Step 6: Once your compilation is completed, click on Upload button as shown below.
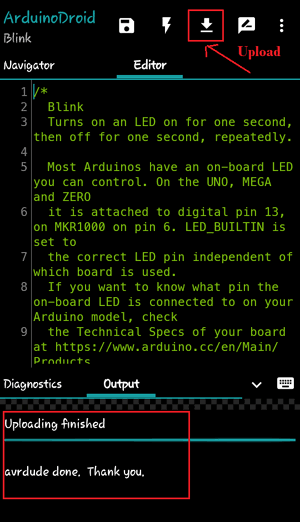
Your program is successfully uploaded as you can see in output window. As soon as its get uploaded you will see on board LED will start blinking.
Also remember that you don’t need to provide any external power to your Arduino board as it will draw power from your Android Smart Phone using OTG cable.